Zen in My New 2010 Clutter-free Home Office
🏠Office
I’m a productivity geek and I love tweaking my home office space. In the past three years I’ve moved three times and each time I had to build my home office from scratch and each time I learned something new. I started with a small office space powered by Ikea cabinet in the corner of our living room in our small condo in Warsaw. When we moved to a new apartment I finally had an entire room dedicated to my home office so I built a really nice one with a big long Apple-store-kinda desk and I loved it. Now we moved again. Different house and city. So I had to build it from scratch. Luckily there was an Ikea nearby so I came up with something like this:
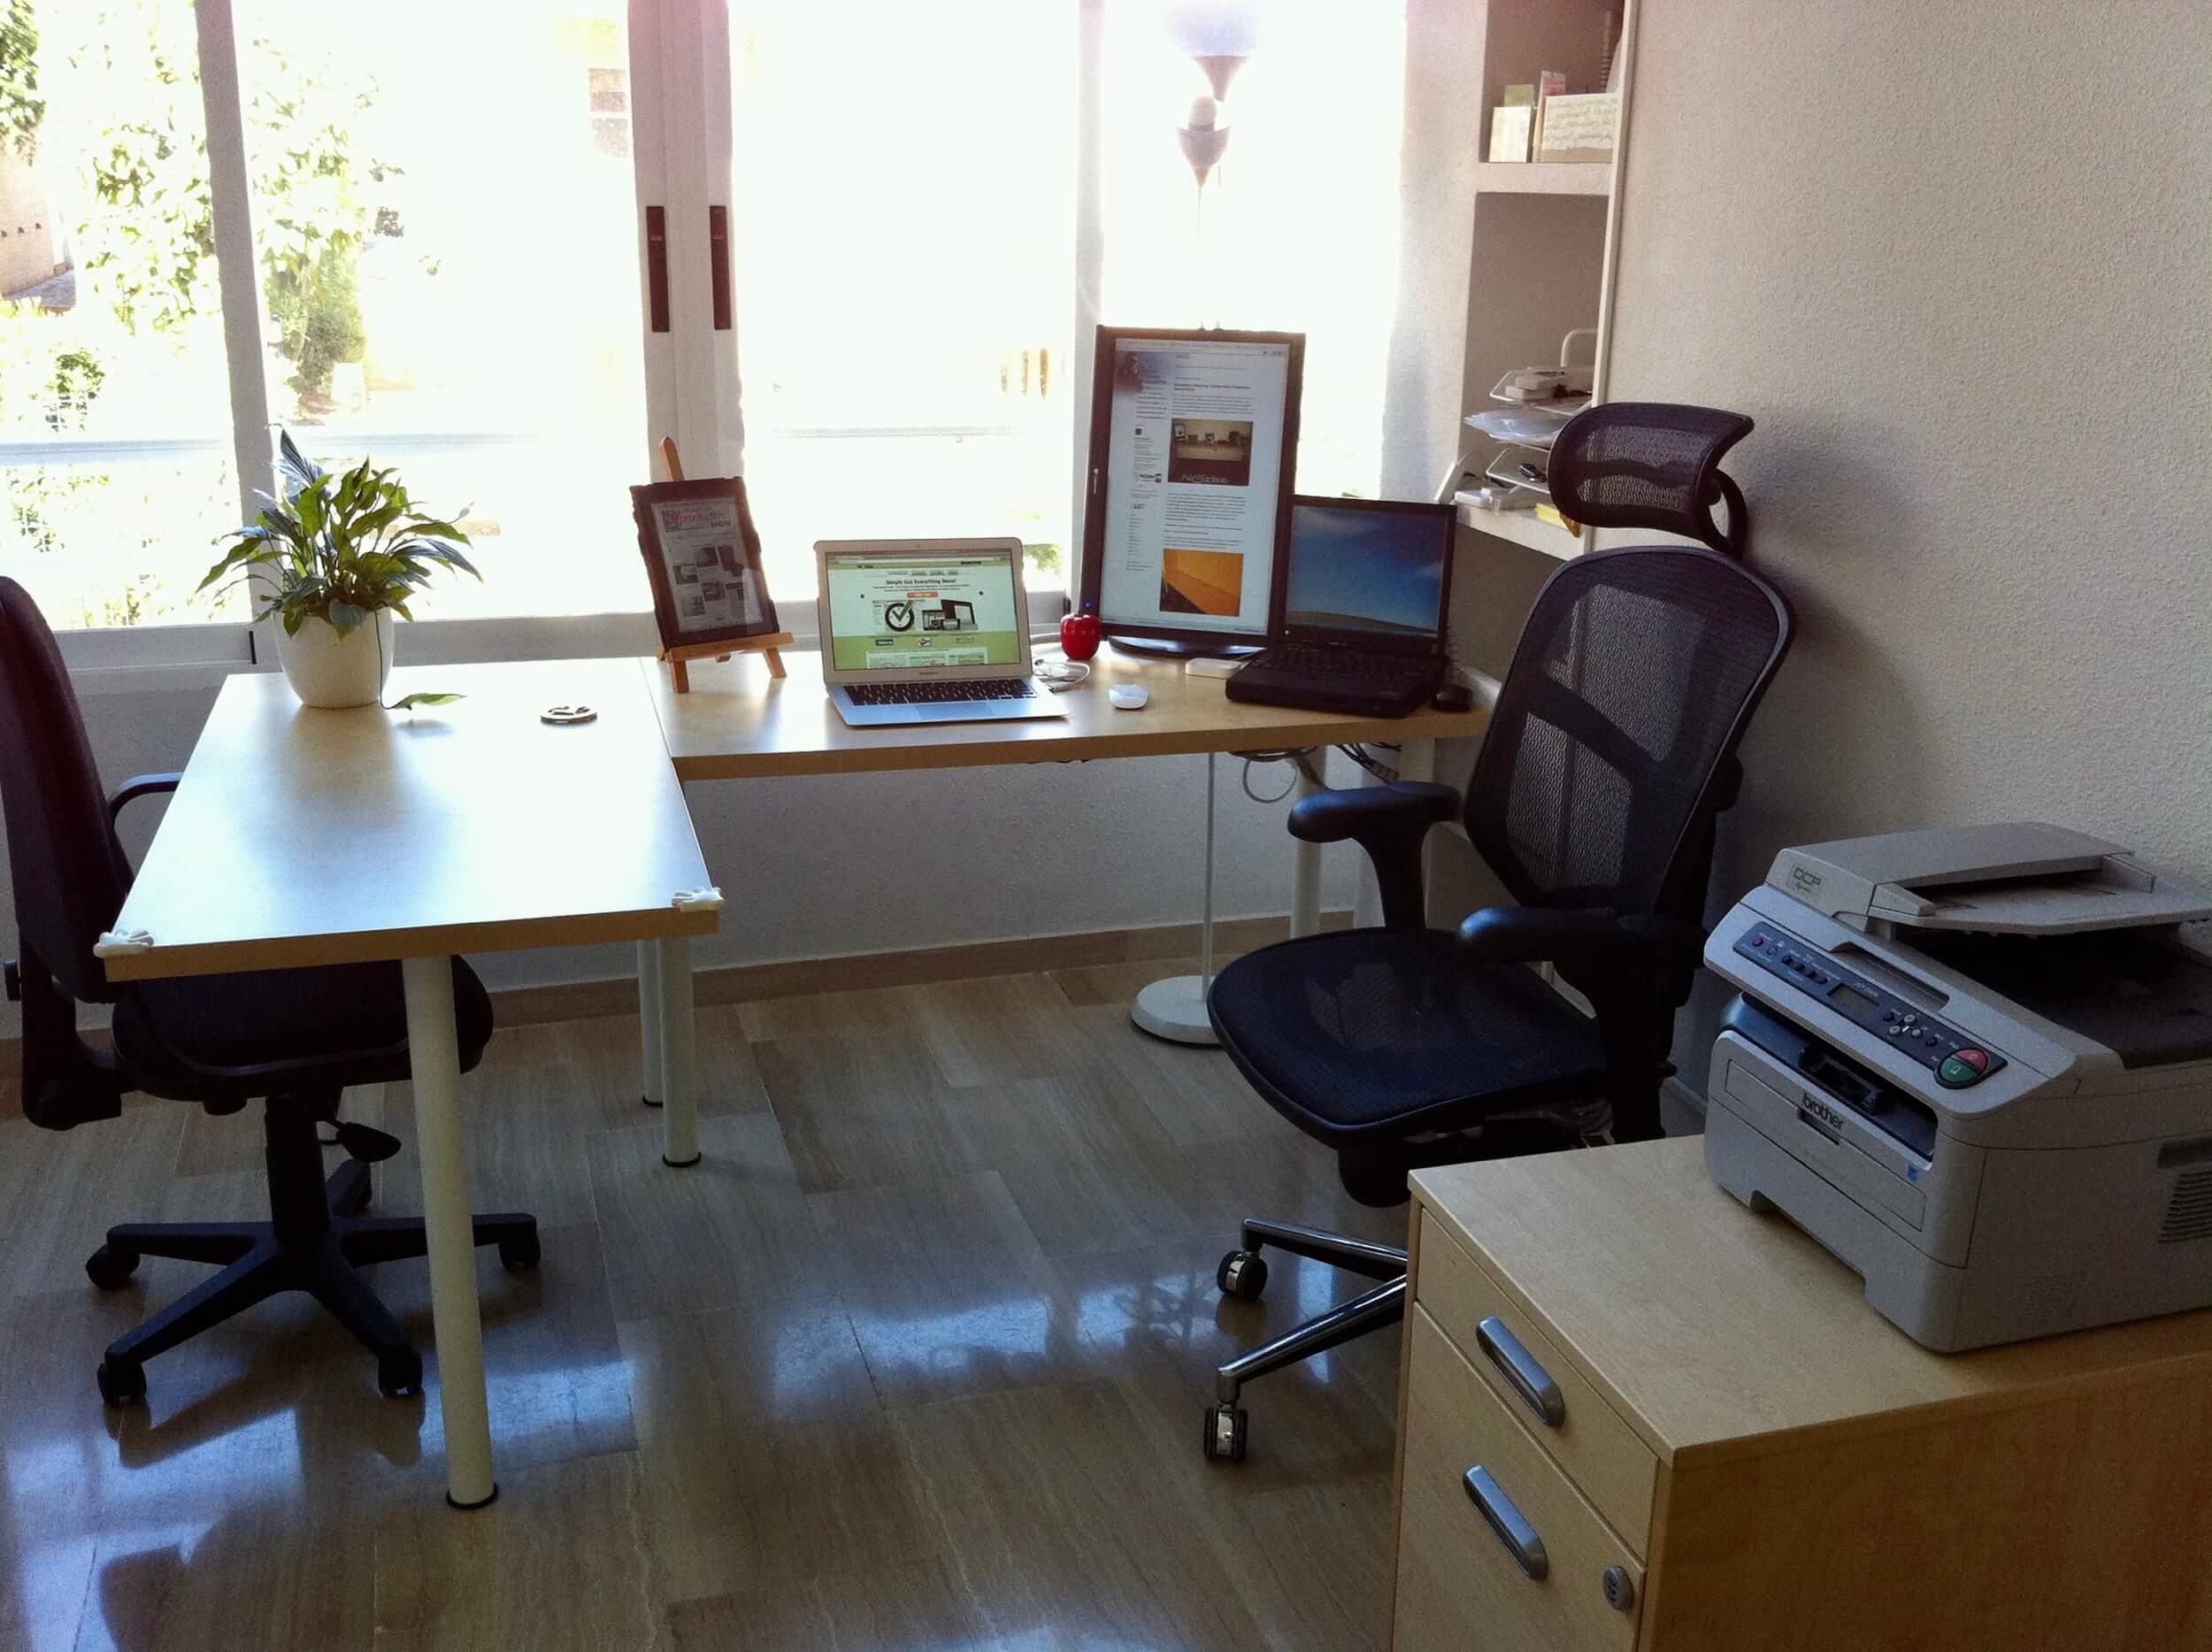
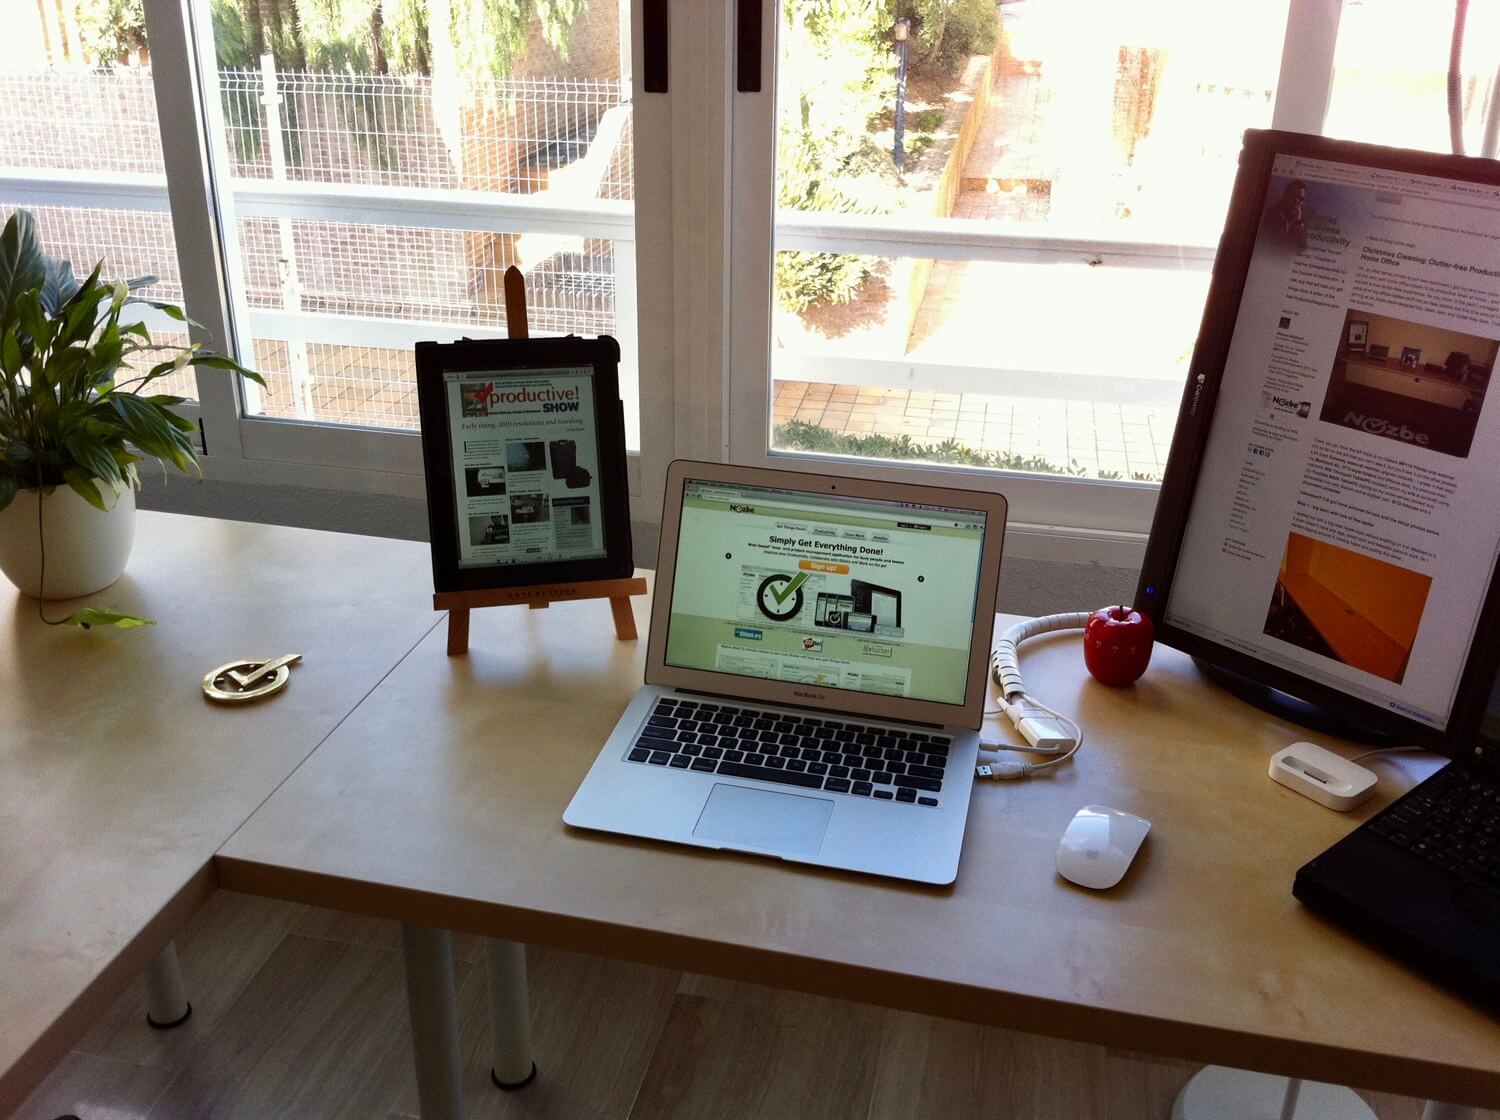
There it is - my new home office built entirely out of Ikea furniture (ok, the chair does not come from Ikea) and it’s clean, bright and white… and I love getting stuff done here.
It’s all about what you see… and what you don’t see.
If you take a closer look, you’ll see that I have quite a few computers on my desk… but still I have lots of free space and everything is quite clutter-free. It took a significant while to build it all that way, but if you have a few minutes, let me show you the entire process with all the spicy details. Here we go:
Step 1 - Start with a clean slate
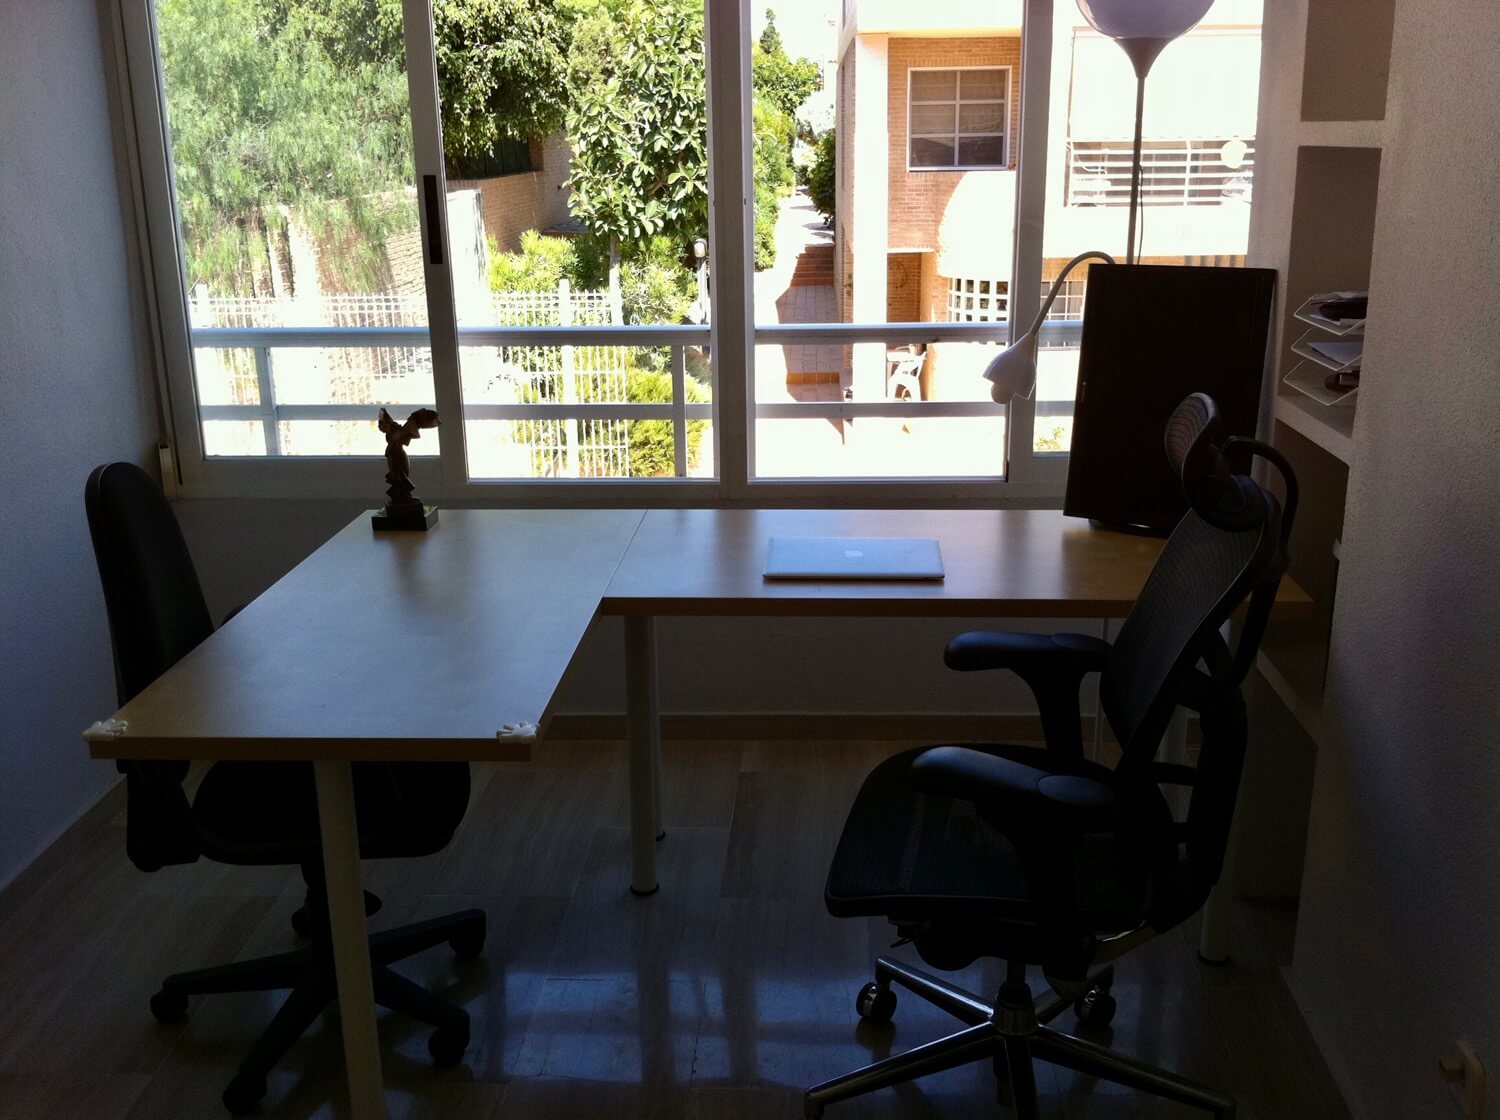
The first thing I did was to plan how the desks will look like. Bought two pieces of wood-like desks from Ikea with legs and attached all together to form an “L” letter and there was my desk. Now, before I started to put cables and all these small things, I started with this question:
“How I want my office to look like when I’m done?”… and I put a sculpture from my friend Miguel Guia, my Macbook Air and my external monitor in portrait mode …. and an Ikea lamp behind the monitor. And it started to look really “clean” and nice:
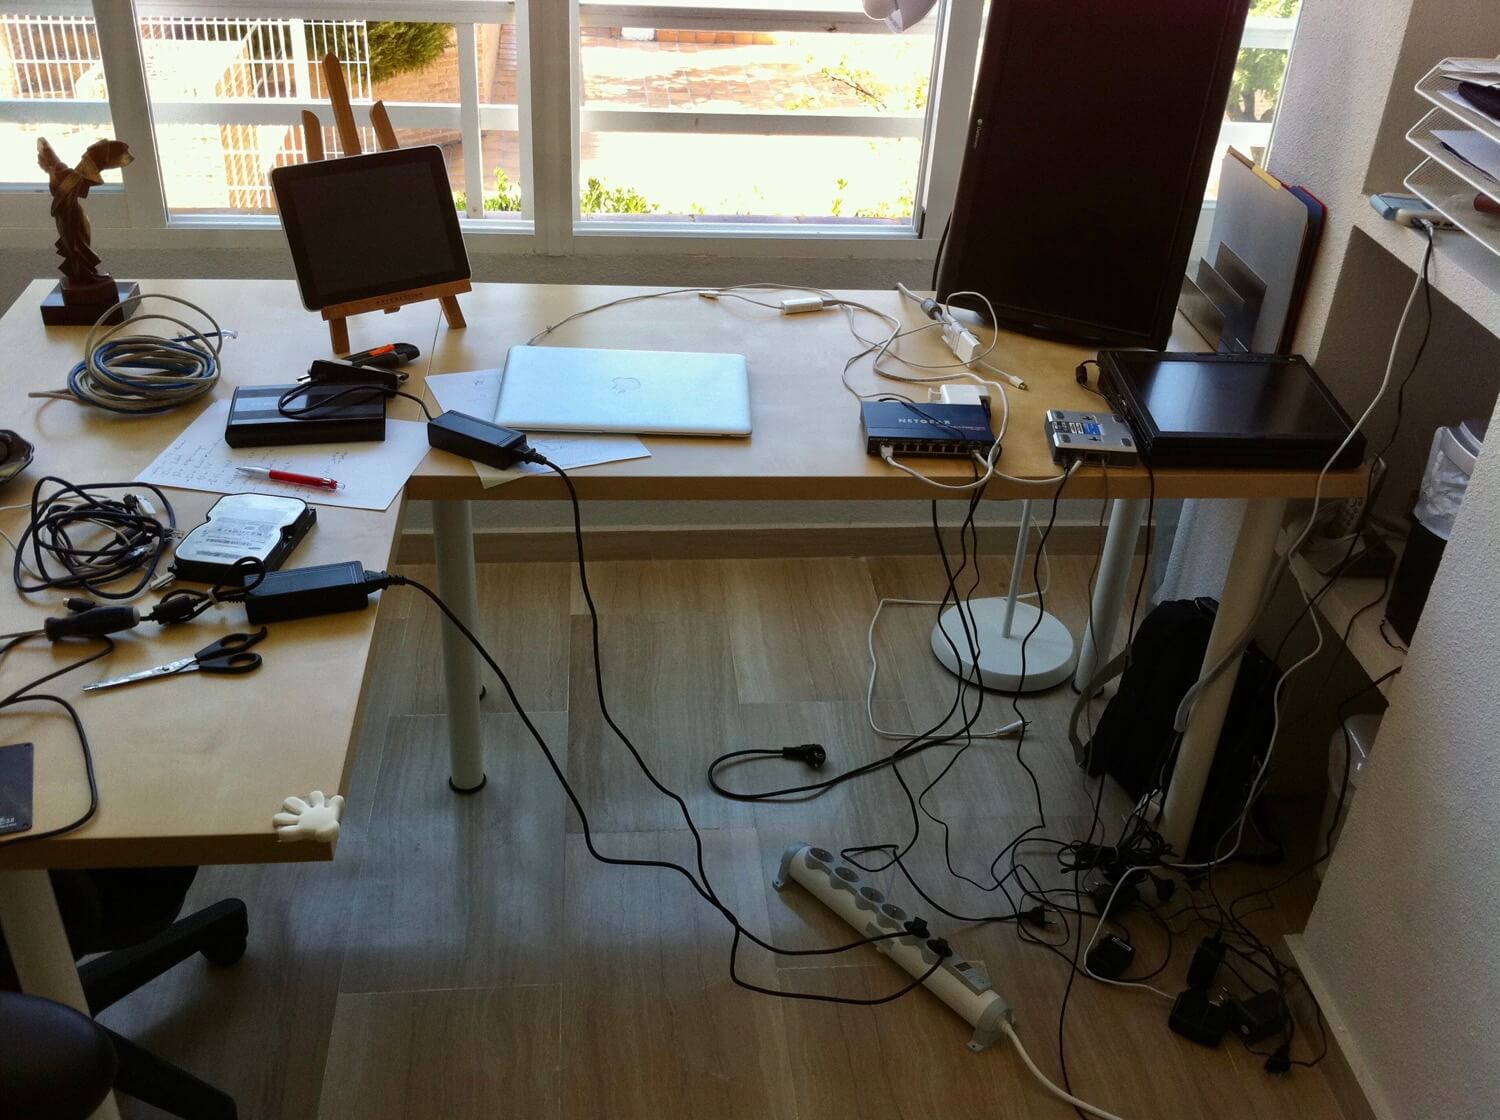
Step 2 - Figure out Power Management
This is a tough and lengthy step. I needed to figure out what I’m going to use around my computer gear and how I’m going to put it all together.
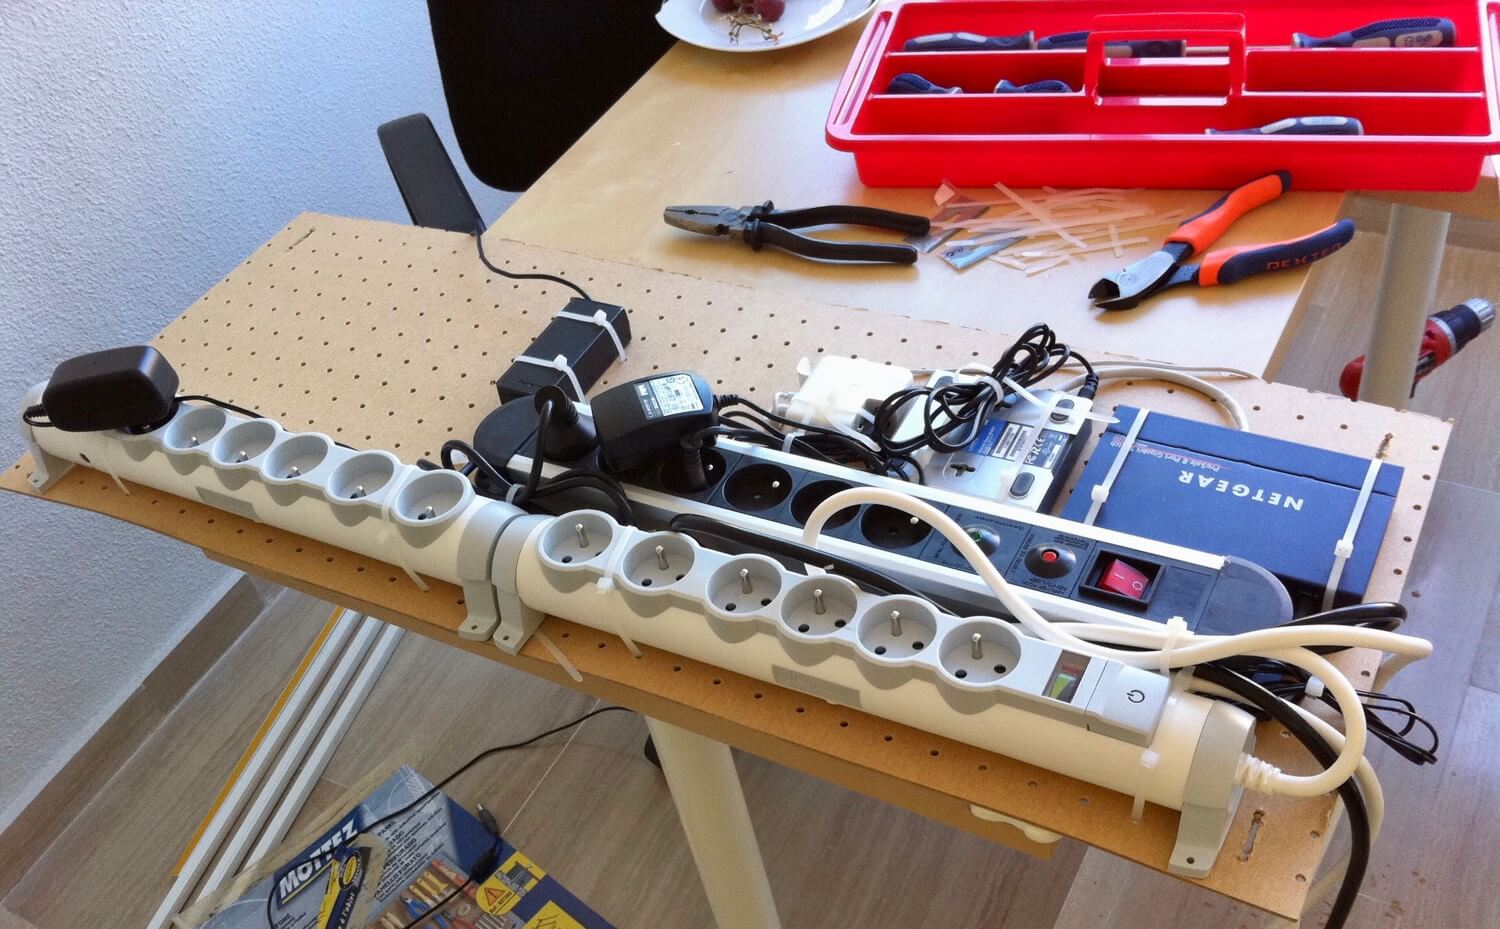
I started with putting the gear on the table and attaching cables to it:
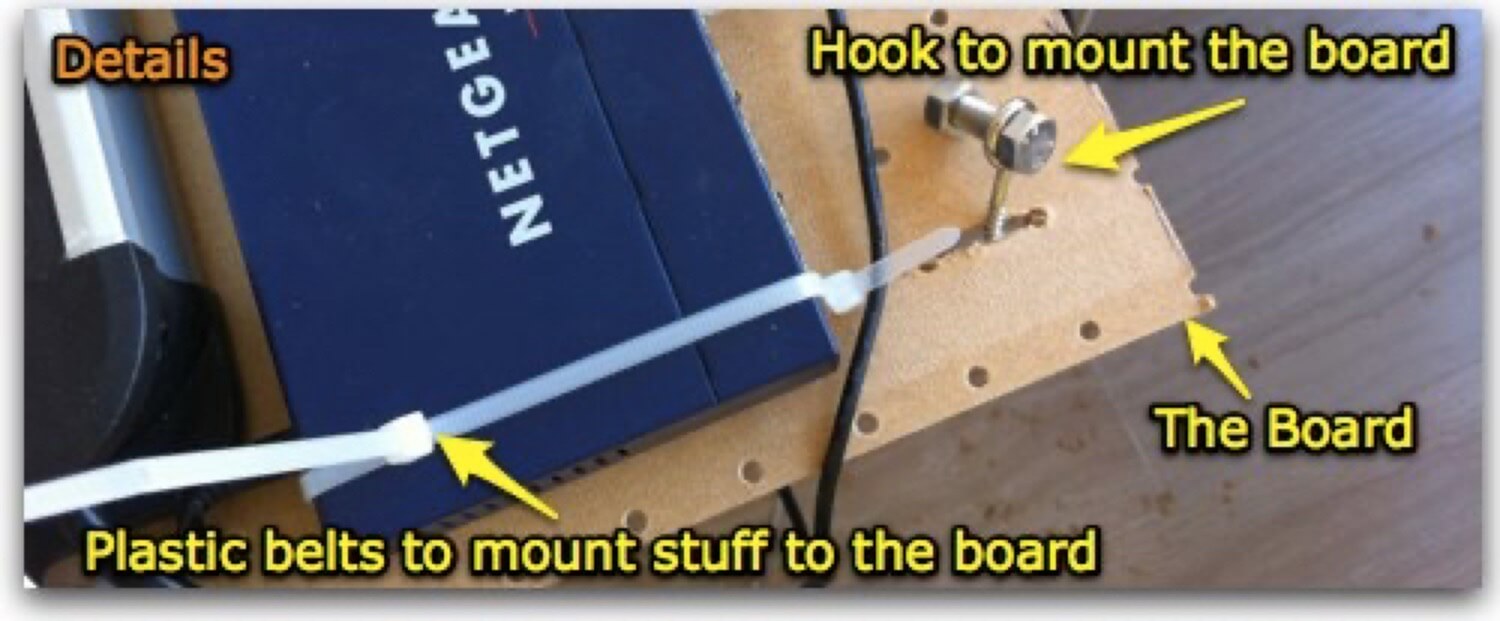
I knew I didn’t want to see any of my cables (no distractions, please!) so I figured out I should mount the cables and stuff right below the desk. I decided to use a thin board with small holes to serve as my cable management hub:
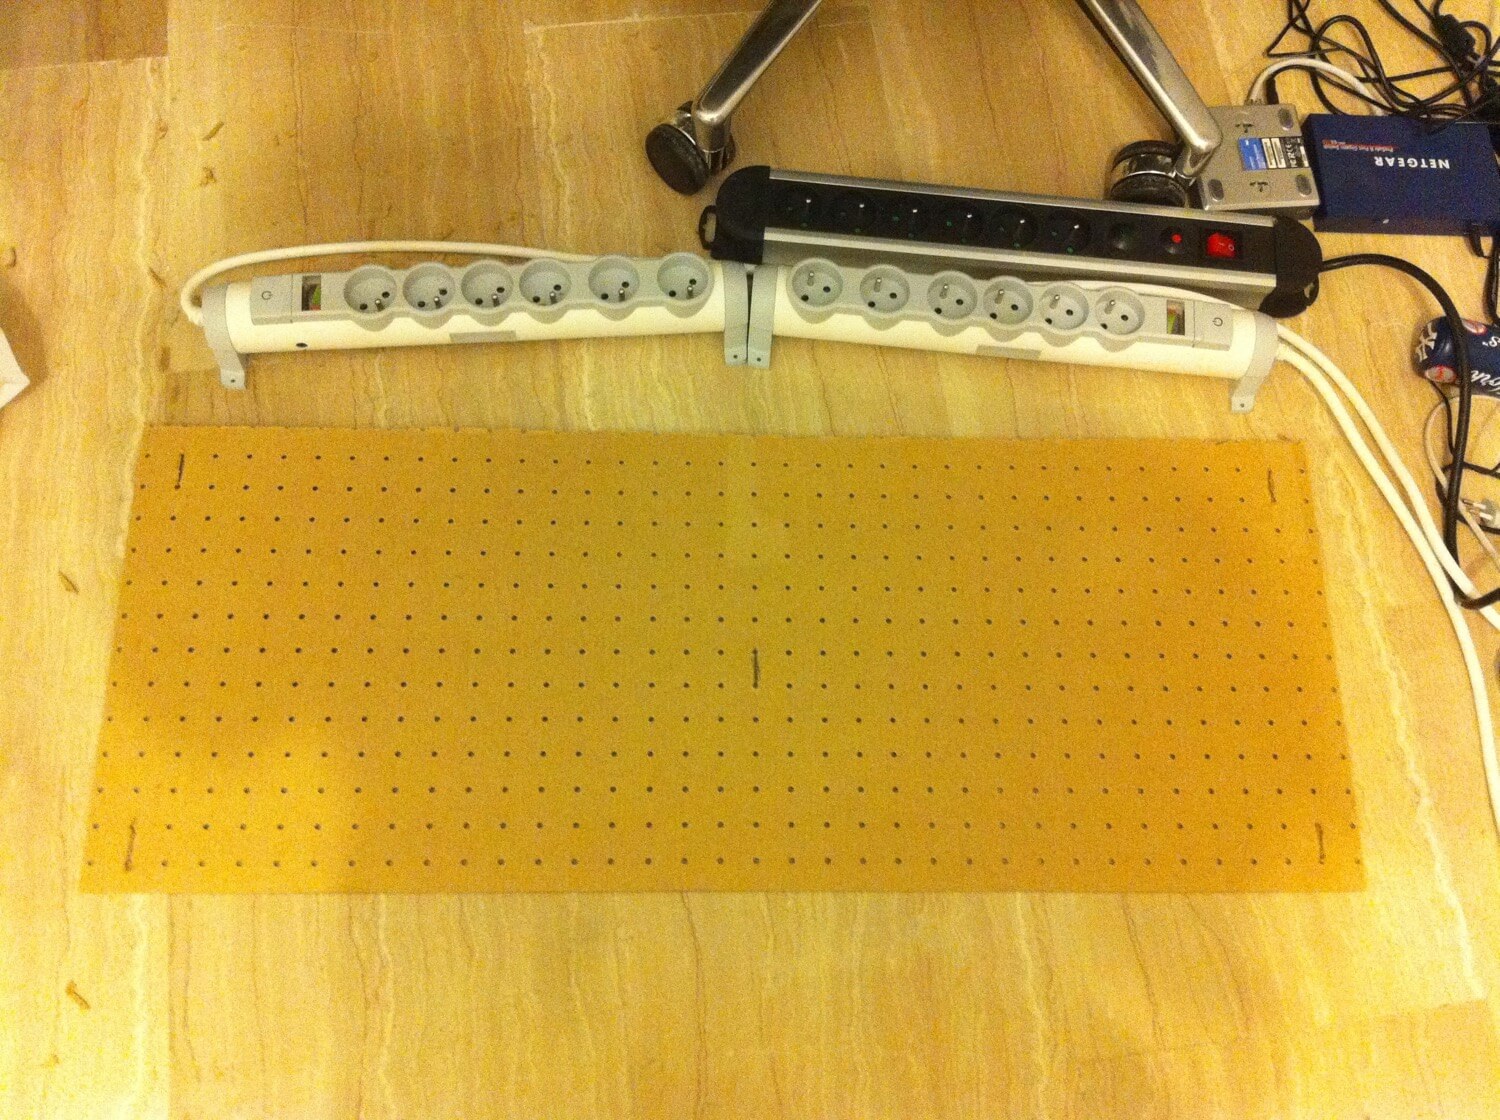
As always - when I started counting I realized I’m going to need close to 20 power sockets so I had them prepared before the board arrived.
This kind of board is very flexible and you can easily mount stuff to it with plastic “belts” and then you can mount the board to the desk with simple hooks. Here are some details:
I liked this “cable management” concept and kept on adding stuff to the board. I started with power sockets and later went on with LAN router, VoIP box, laptop chargers, USB hard drives, etc. Here’s the process along the way:
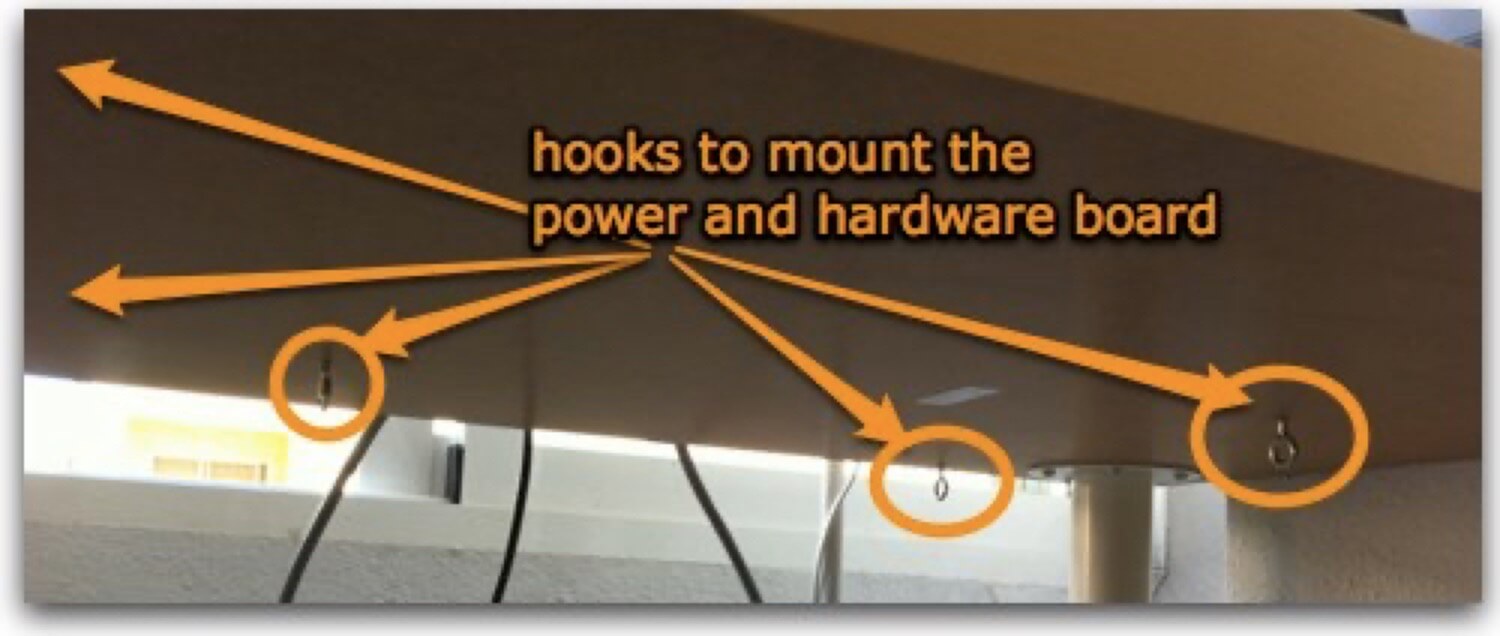
As mentioned earlier, I had to prepare special hooks and install them below the desk. It was fairly easy - 5 hooks should be all I need to keep the board with my entire gear in place:
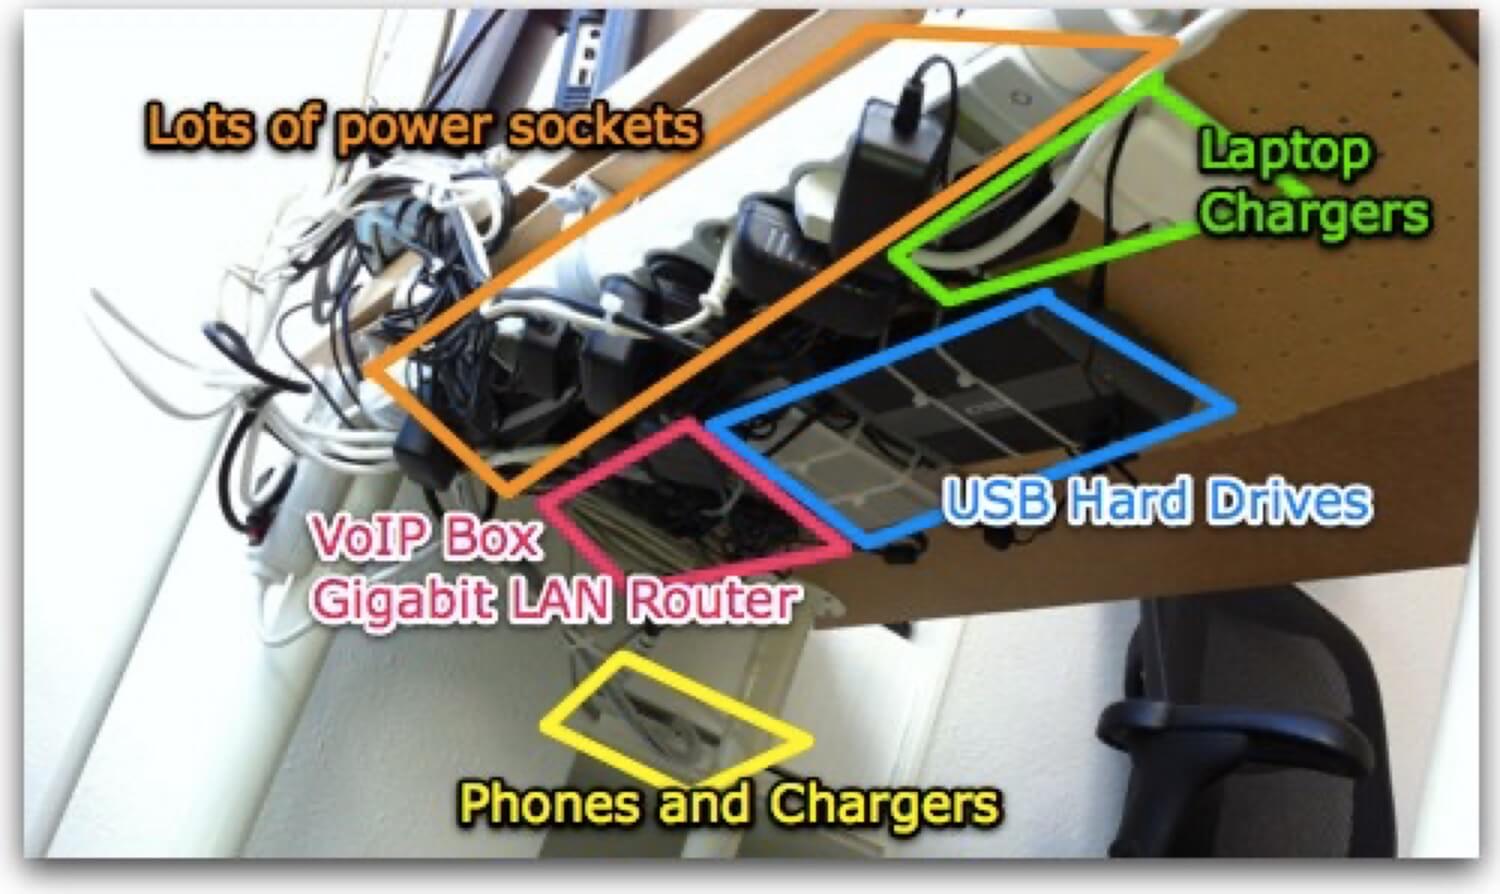
Once I’ve added everything and mounted the board, it all looked really promising. I’ve got all my sockets in one place and all my chargers and most of my gear “out-of-sight” right below my desk:
Step 3 - What you see (and don’t see) is what you get
Now, as you can see, although I’ve got plenty of gear mounted to my desk, I hardly see any of it. This helps me focus and get stuff done and I’m never worried about my cables.
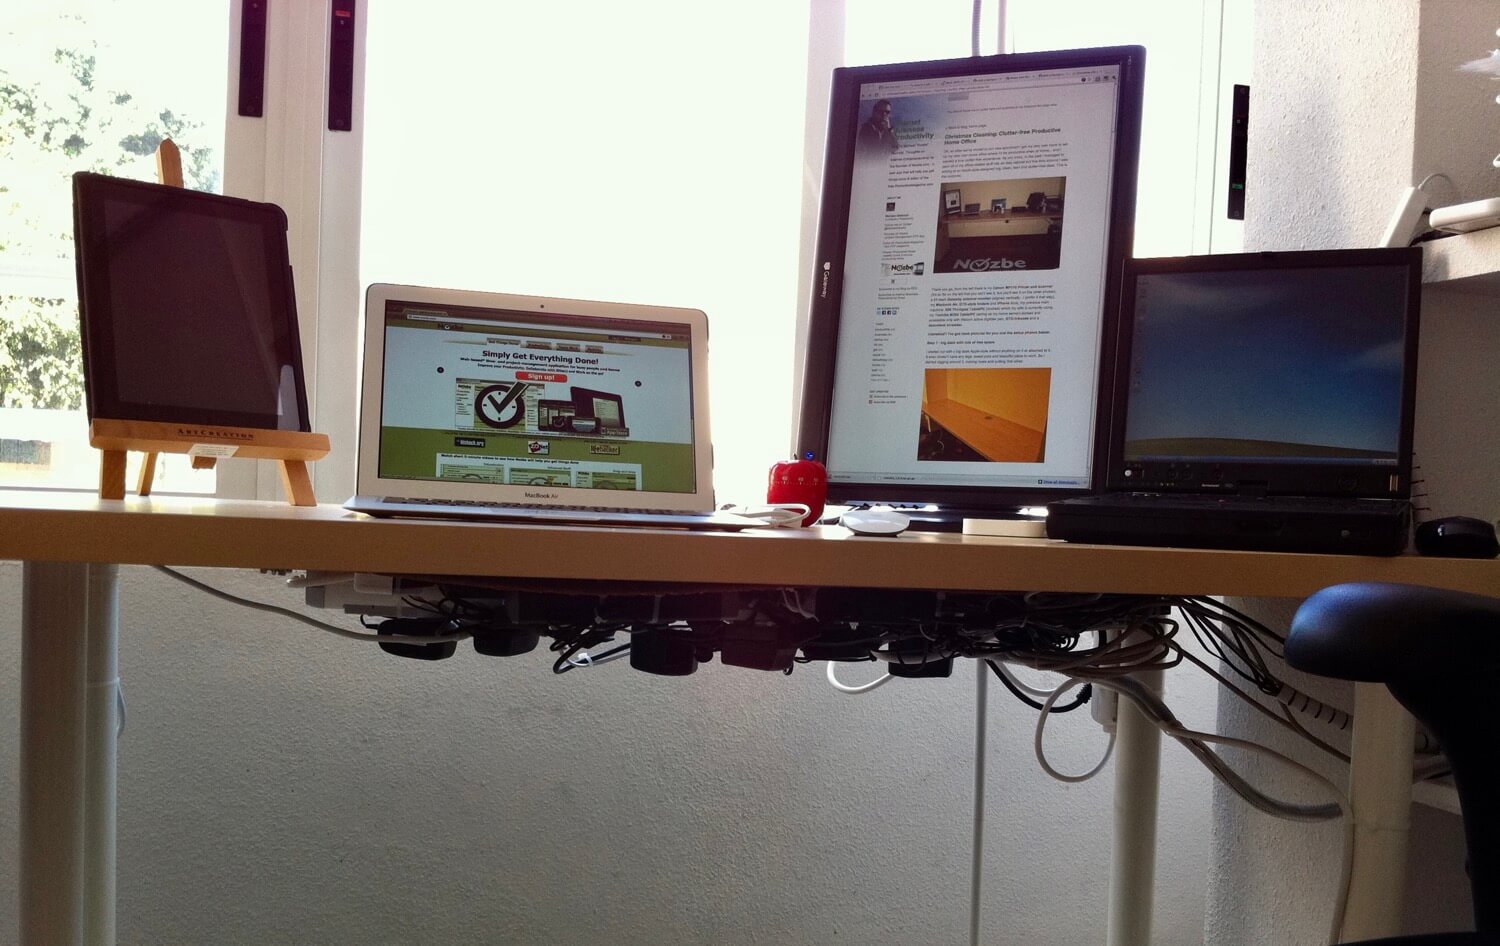
Closer look at my office
Here’s what I see when I just work - on the right side I have my external monitor in portrait mode for web browsing, writing and coding. The display is attached to my Macbook Air and on the left hand side I have my trusted iPad which I use for video-watching and news-reading. Right next to my Air there is my Magic mouse, iPhone dock and Pomodoro :-)
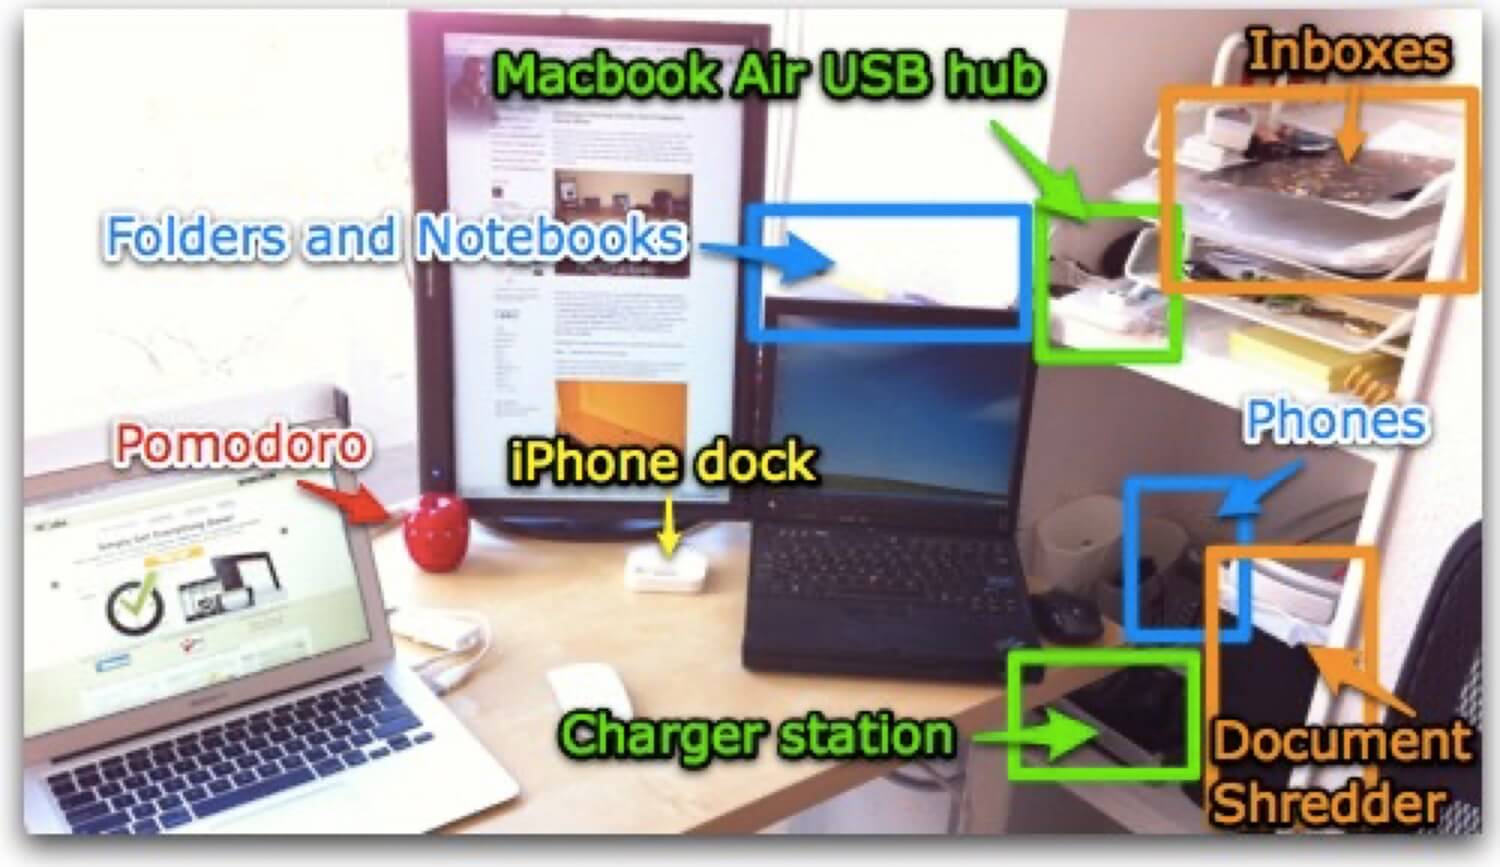
To make sure I don’t look at my other laptop (IBM Thinkpad X60T) - which serves as my home-server and all the documents and inboxes, I’ve moved them to the side. When I need them, they are there, but they remain out-of-sight.
All my phones and chargers are here, my USB hub, Inbox, document shredder and folders are on the side - I like it that way - don’t have to look at all this when I don’t need to:
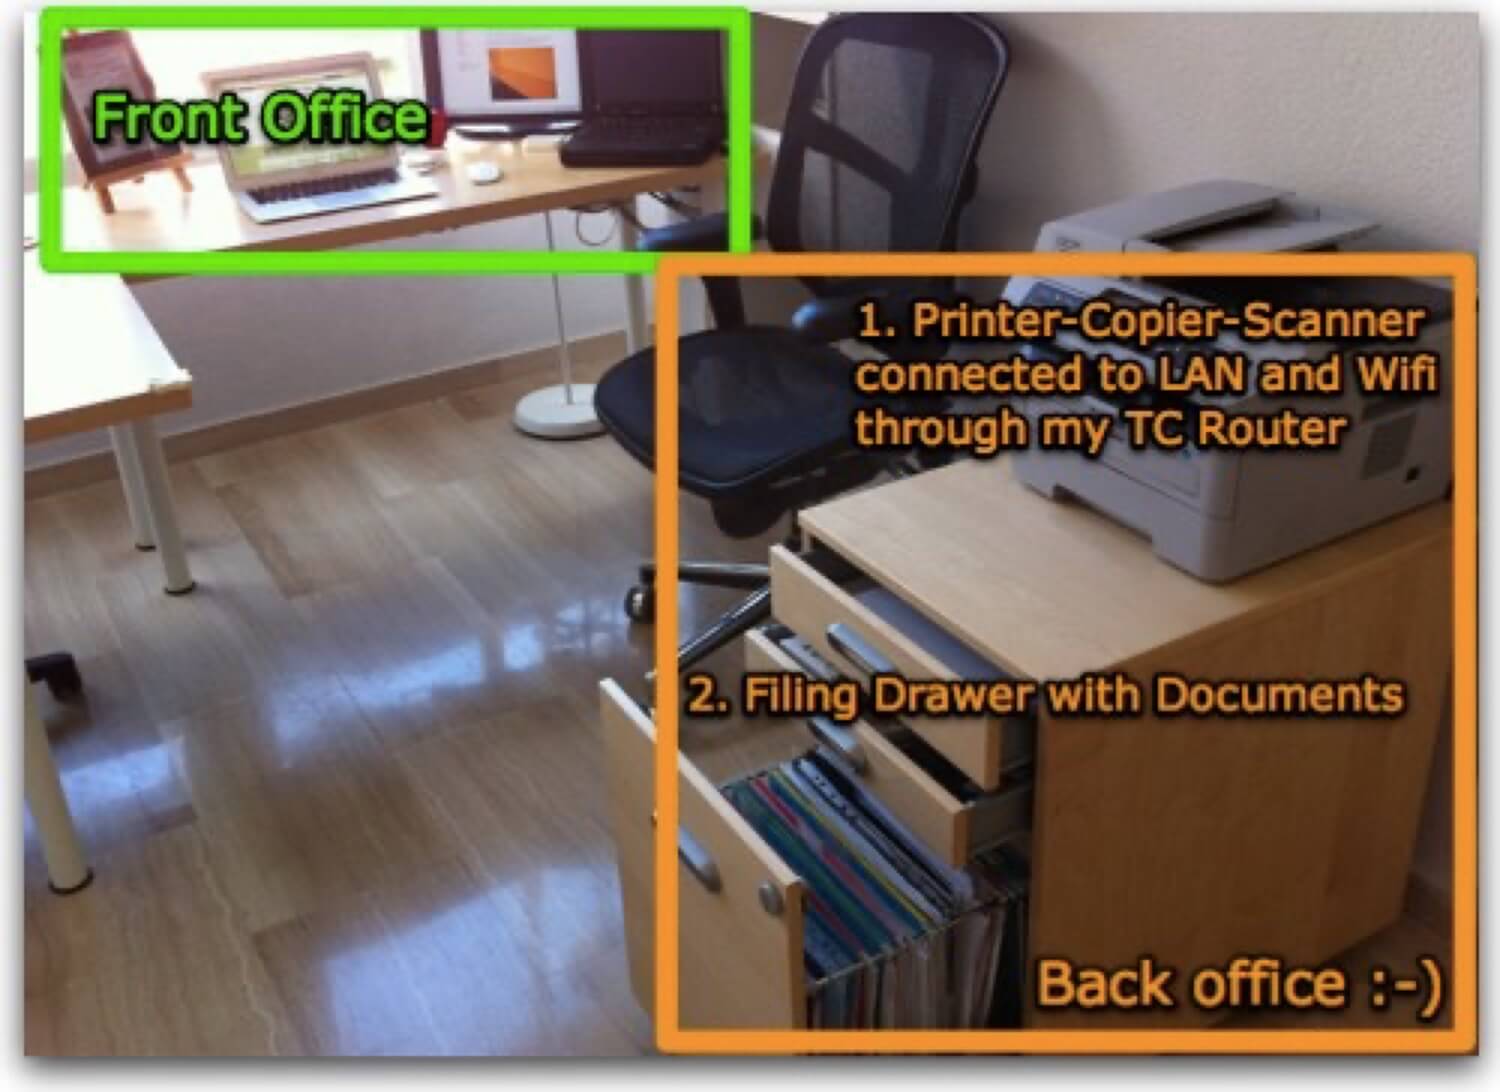
To make sure I have as few objects to look at as possible, I’ve moved my document cabinet (Ikea made as well) and my laser printer-copier-scan machine to my “back”. This is my “back office” and since the multi-fuctional device is connected to my router and then to my wireless router, I can print and scan from any place in my home:
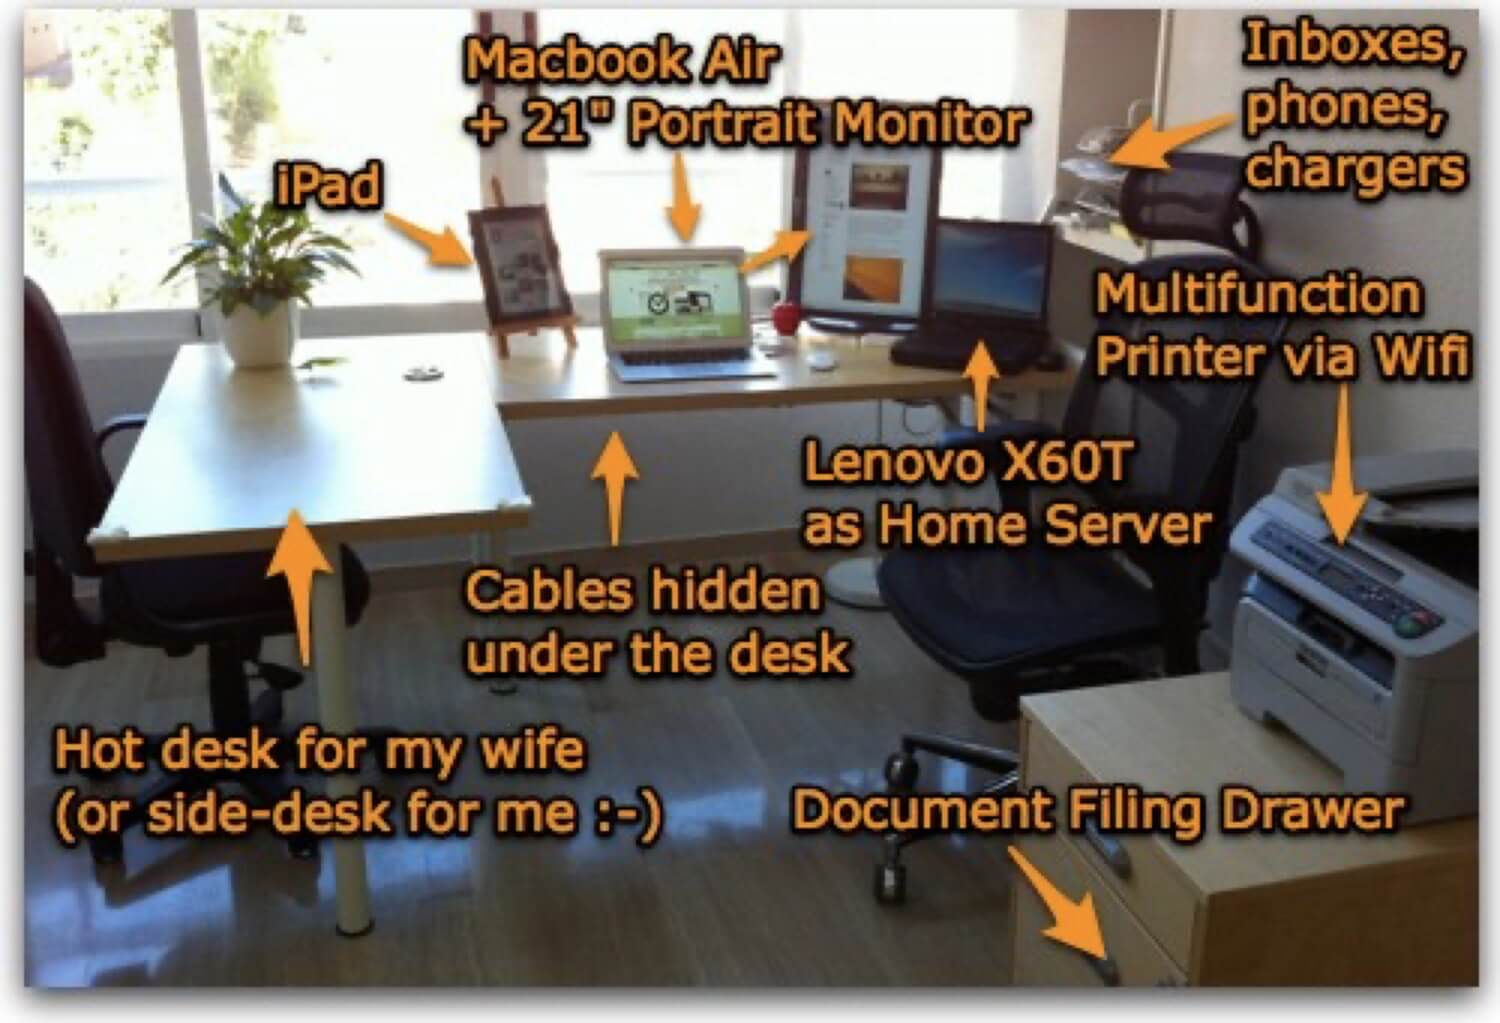
I love my new home office - here it is in a nutshell
I’ve learned a lot building this new home office and I’m happy it’s exactly how I want it to be. I’ll probably record a Productive! Show episode about it to explain more about why I built the office the way I did. Hope you like it, too, and hopefully I inspired you to make your home office also a great place to work. Here it is, once again, with more details explained:
Do you also work from home? How does your office look like?